


Aerial Silk Set-up
Welcome to a series of articles on aerial rigging, supported by videos from Circus Rigging & Safety, sponsored by Firetoys.
This article will explain the most popular ways to rig your aerial silk and how to correctly tie them onto the equipment.
The below information assumes you have a safe anchor point. See our guide here on How to Rig At Home Safely
Equipment
There are two main ways that silks are most commonly rigged;
Small and lightweight, useful for short term setups or if you are limited on height. MBS: 40kN

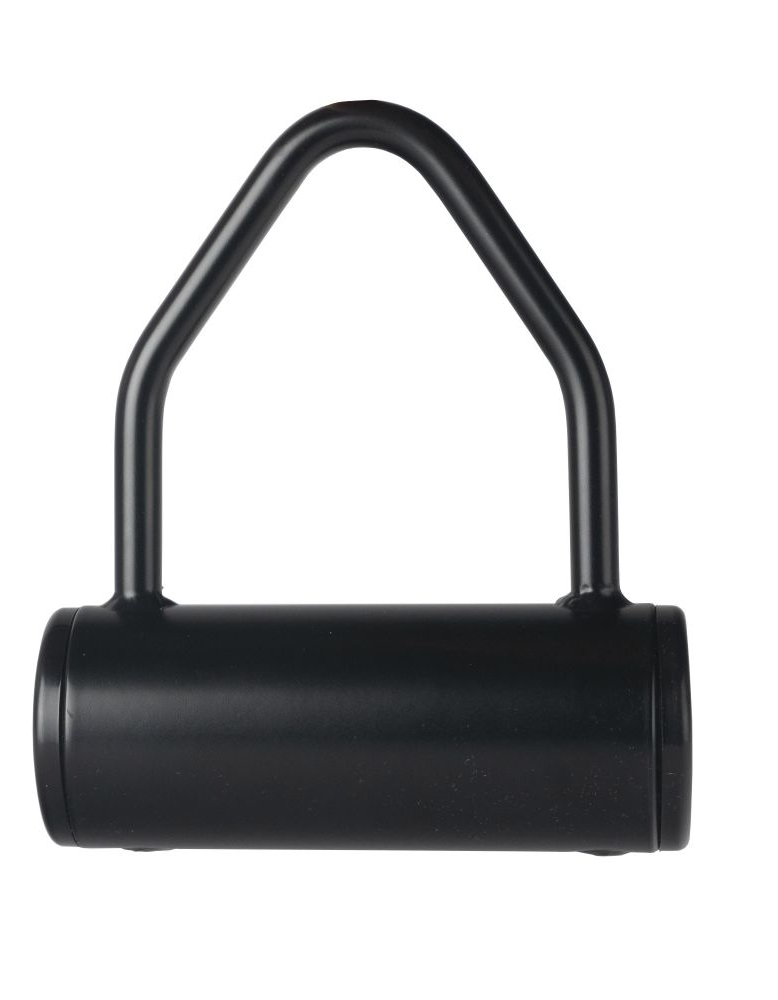
These have a larger surface area which distributes the load and reduces the likelihood of tears or damage to the silks. The variety of knots available for this hook also means that you can get a much cleaner separation between the two strands of your silk without affecting the working load or risking the silks slipping. Better for set-ups that are more permanent and won't be taken down as often. WLL: 300kg
Rigging methods and knots
Knots to tie your silks to the attachment
- Prusik knot - A friction knot used to attach a loop around an object.
- Single clove hitch - A crossover knot used to tie the middle of a rope (or silk) to an anchor.
- Double clove hitch - A more secure version of the single hitch, can be used on larger fabric bells.
Take a look at this video below for a more detailed explanation of these knots, as well as a demonstration of how to tie them.
Other Equipment
Here is some other equipment you might need to complete your set-up.
Carabiners - Used to connect figure 8s, fabric bells, strops and swivels to each other. These must not be used to attach directly to silks and should only be loaded in line with the spine.
Swivels - If you would like to spin on your silks then you will need one of these.
Spansets - Used to add height or choke around a beam to create an anchor point.
Here's a short video explaining a few of these items.
Basic set-up
Every setup is going to be slightly different as there is no one-size-fits-all when it comes to rigging. However, a basic example may look something like this.
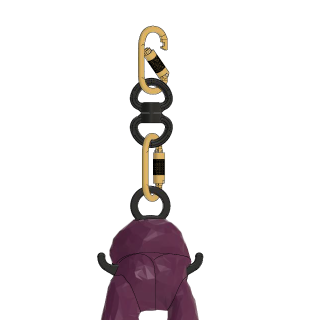
- Carabiner
- Swivel
- Carabiner
- Figure 8/Fabric hook
- Silk
Shortening and Lengthening your silks
If your silks are too short for the venue you can add a strop or loop to the rigging to bring your silks lower to the ground. We recommend having a least 2 meters of tail available.
If you find yourself with too much tail you can shorten your silks using a easy method. Simply tie the silk onto the figure 8 where you would like them, and then feed through the extra fabric and tie a daisy chain with the excess.
Watch the below video for an example on how to do this.