


how to tie amazing dual colour aerial silks
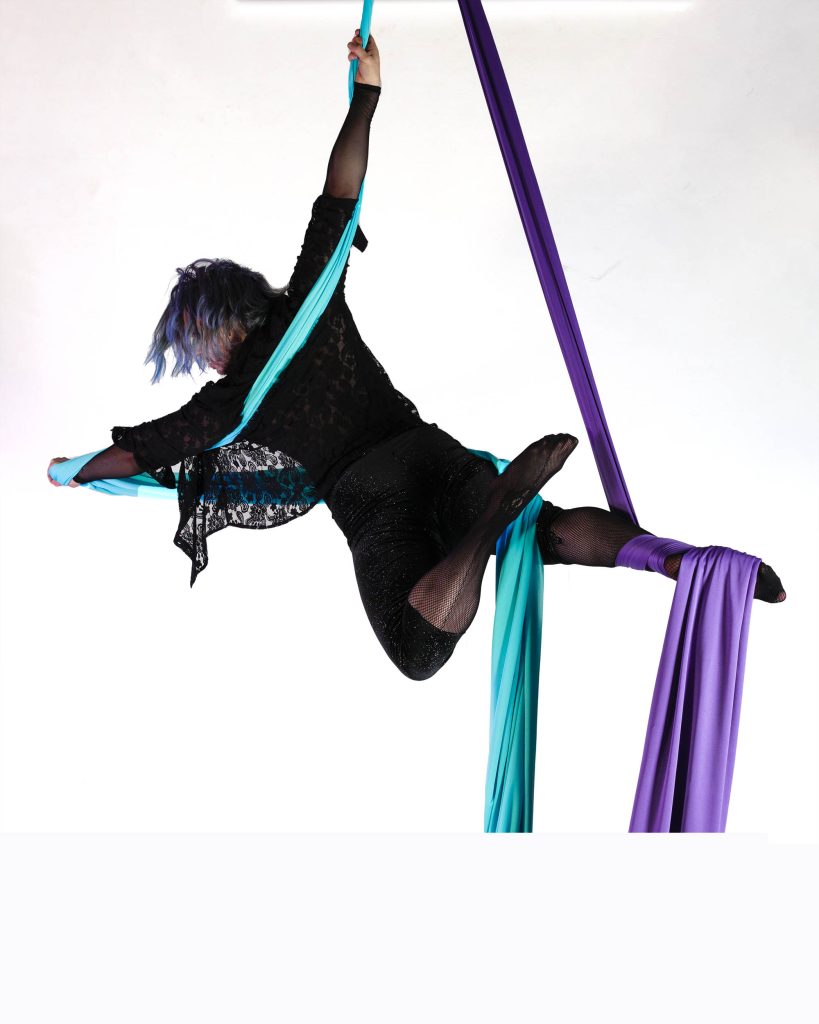
Dual colour aerial silks can be an incredible showpiece or just an added bit of personality to your training. In this article, we're going to show you how to rig your aerial silks when using two silks side by side.
What you'll need:
2 aerial silks (we're using the Firetoys medium stretch silks in the pictures - Celeste/Purple colour combo)
1 aerial silks figure 8 (we're using the Prodigy Elevate in the pictures)
The colour combination is entirely up to you. Pick your favourite colours for your training space, pick something specific to the theme of an upcoming performance, or even use 2 silks of the same colour and get that extra height.
Buying two sets of aerial silks sounds expensive, but as you're using the full length of each silk instead of folding them in half, this can be a cost-effective way of adding extra colour to your higher rigging points. The Firetoys silks we used here have a 150kg Weight Load Limit at a 7:1 ratio in this configuration on a figure 8.
See the step-by-step instructions in action in our video below on Youtube:
Step by step:
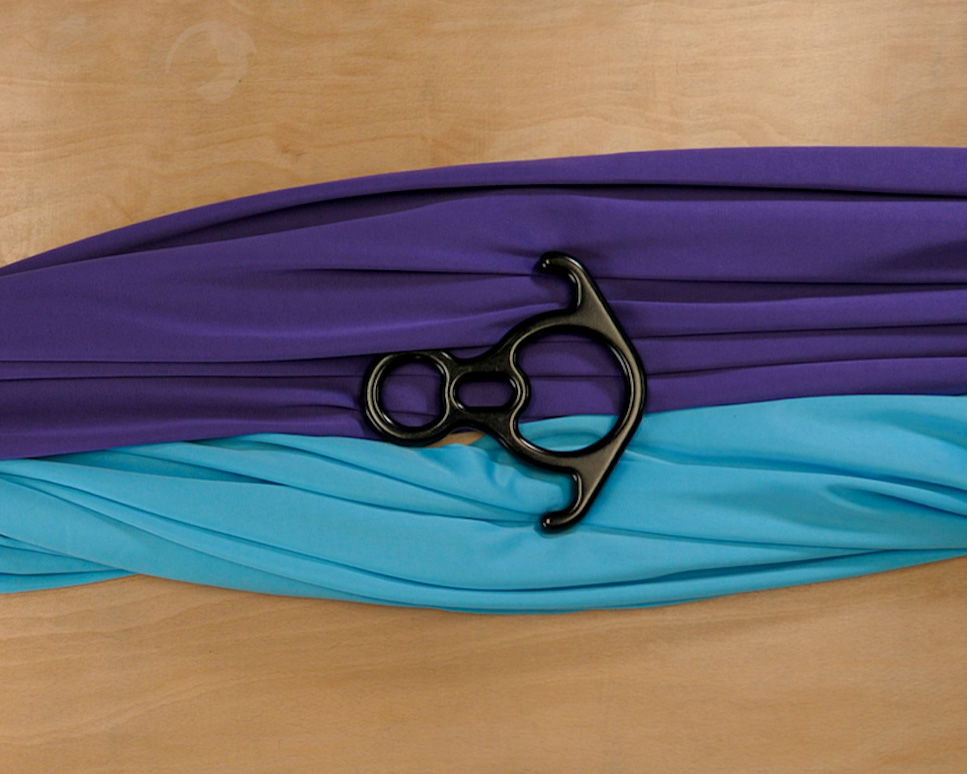
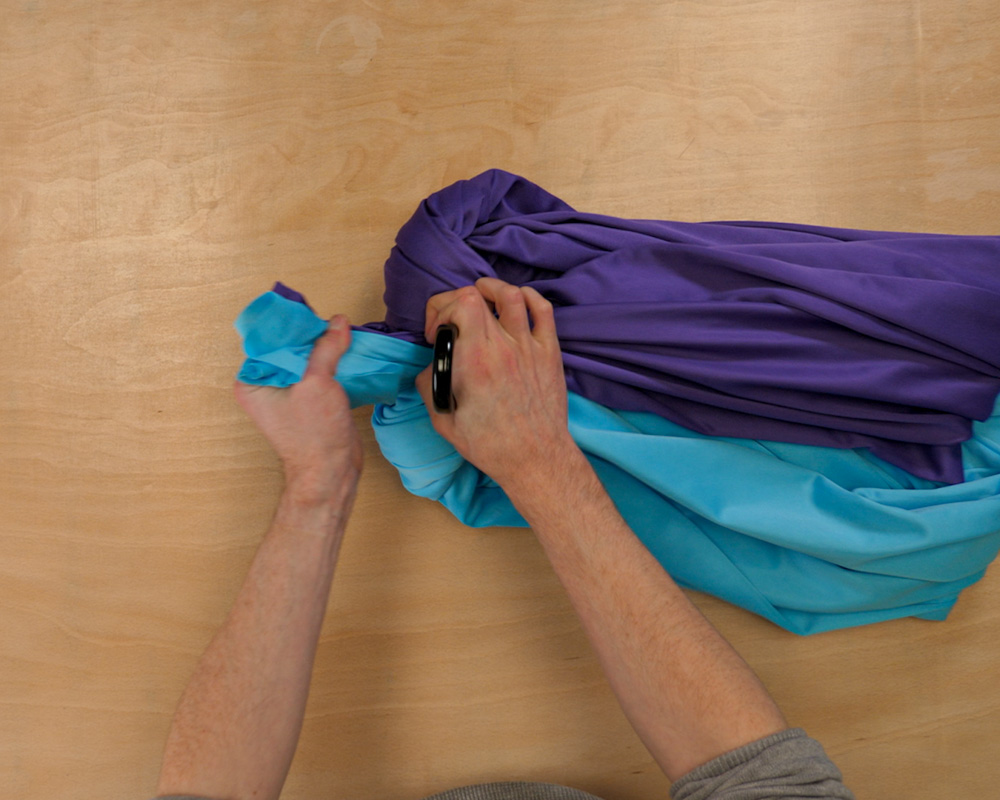
- Set the ends of 2 of your silks side by side
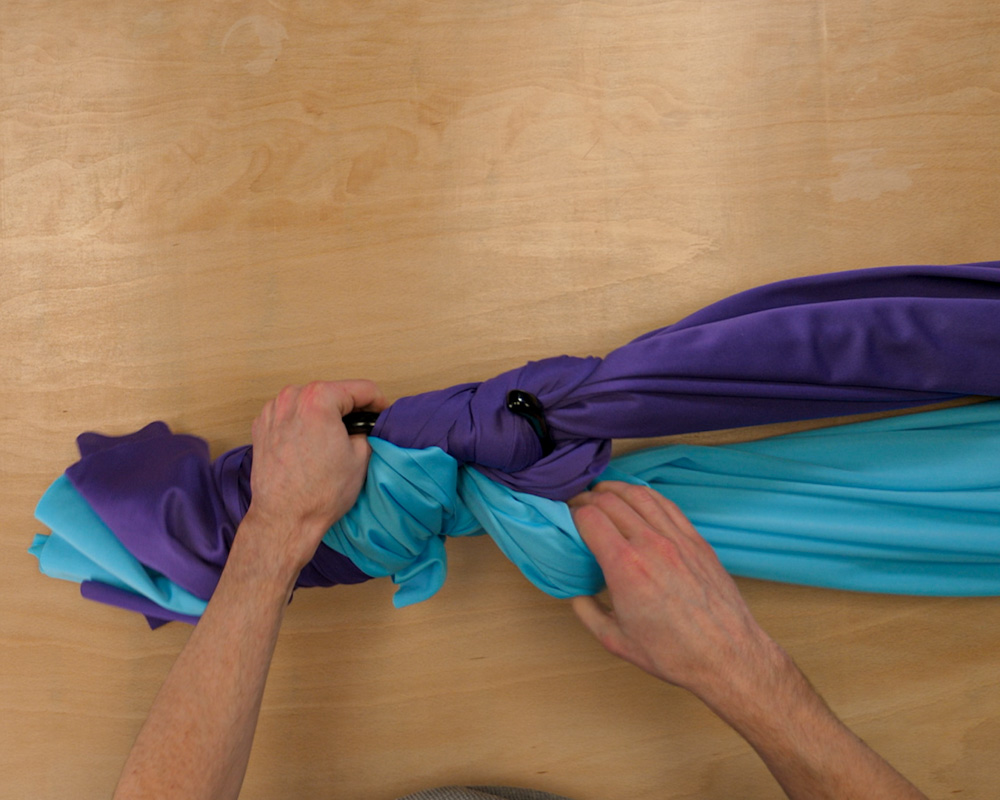
2. Thread both ends through the centre of your figure 8.

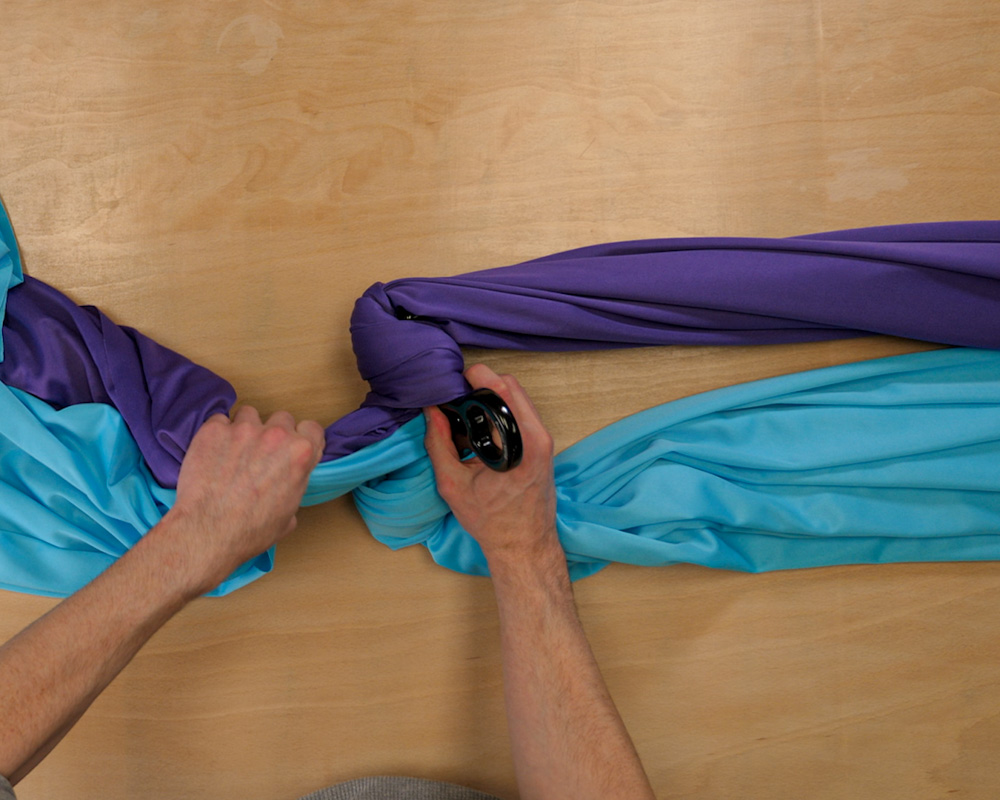
3. Split them around the head of the figure 8
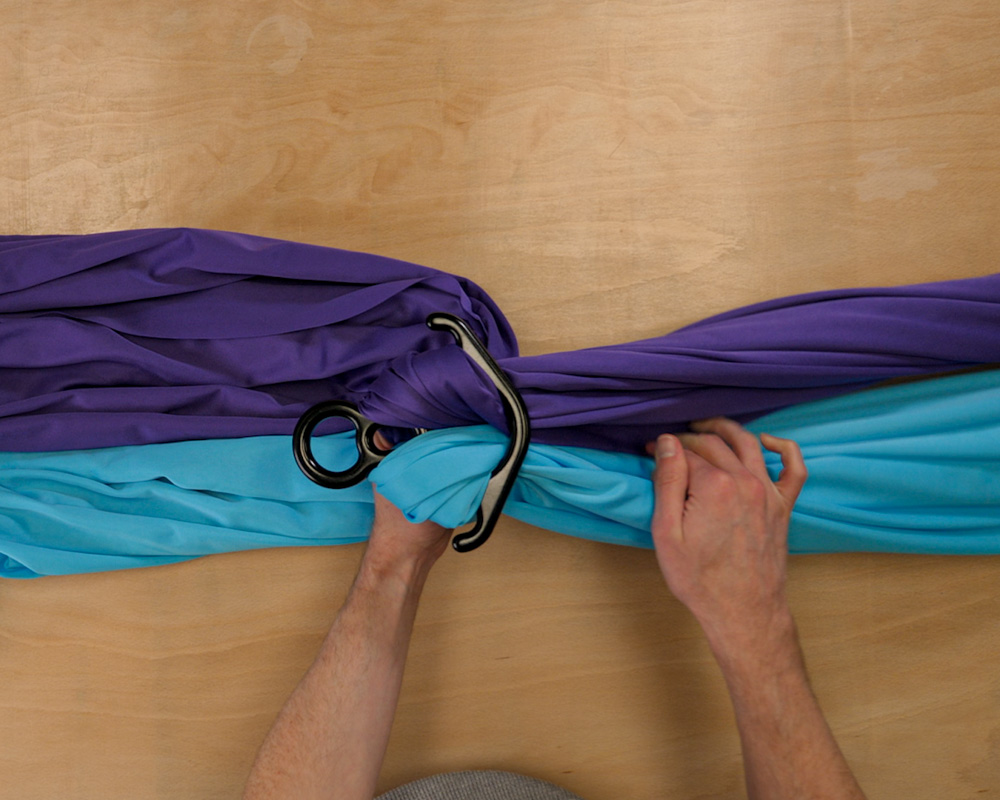
4. Bring the tails back through the centre of the silks
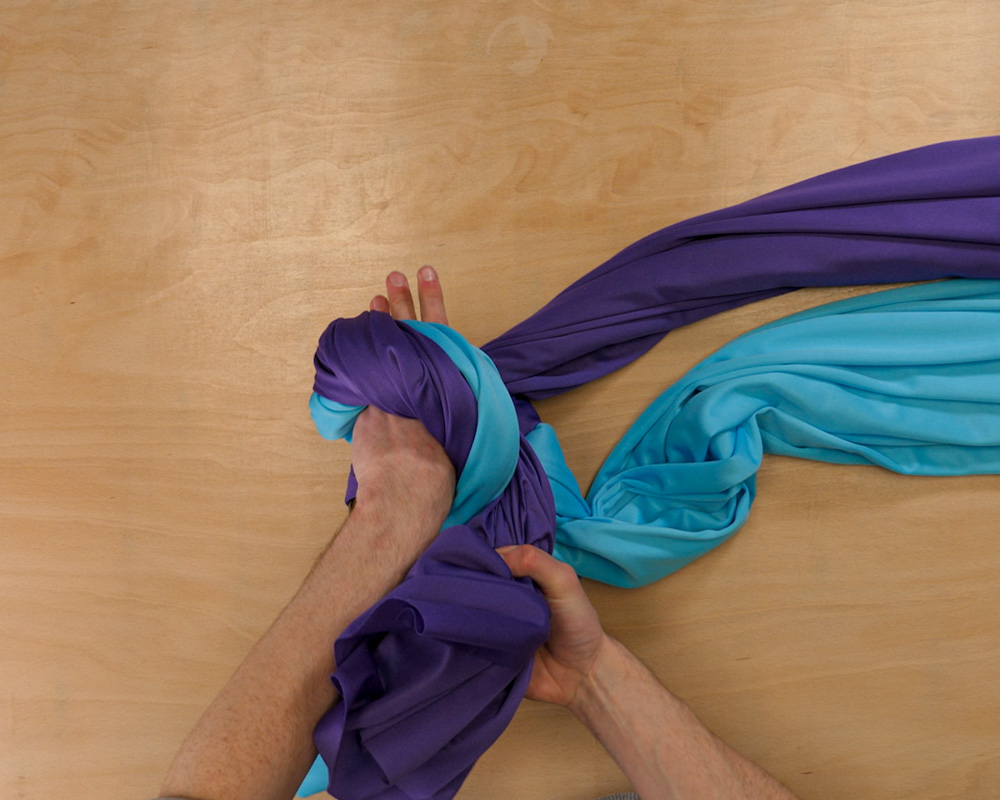
5. Post them through the middle of the figure 8
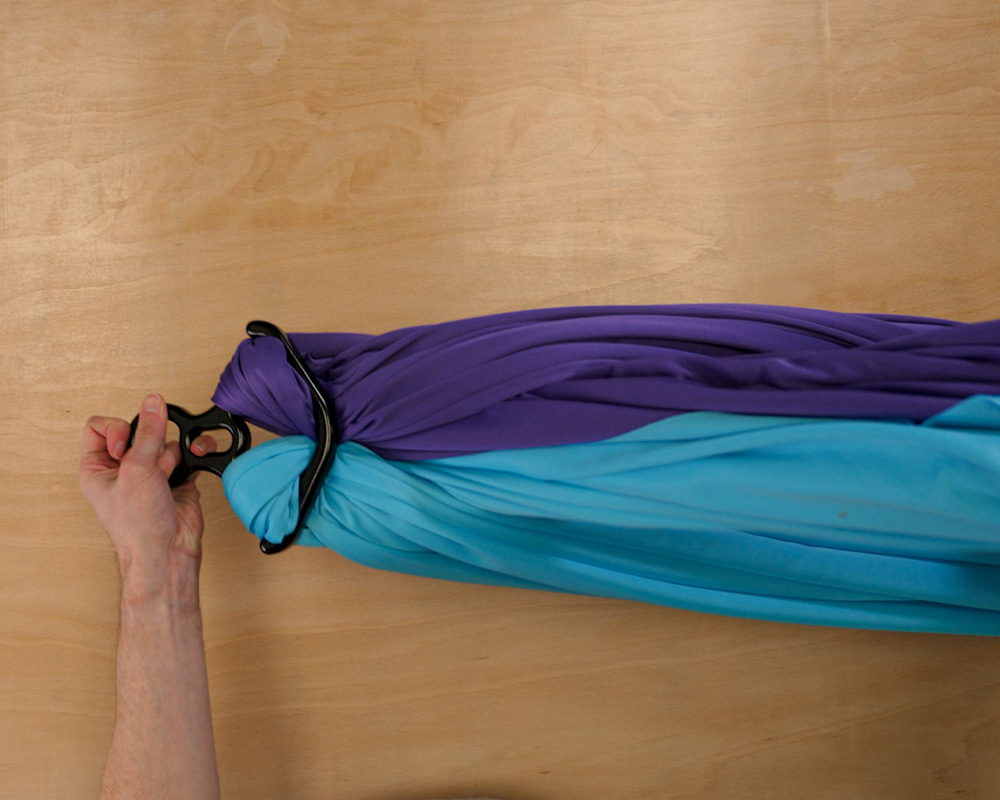
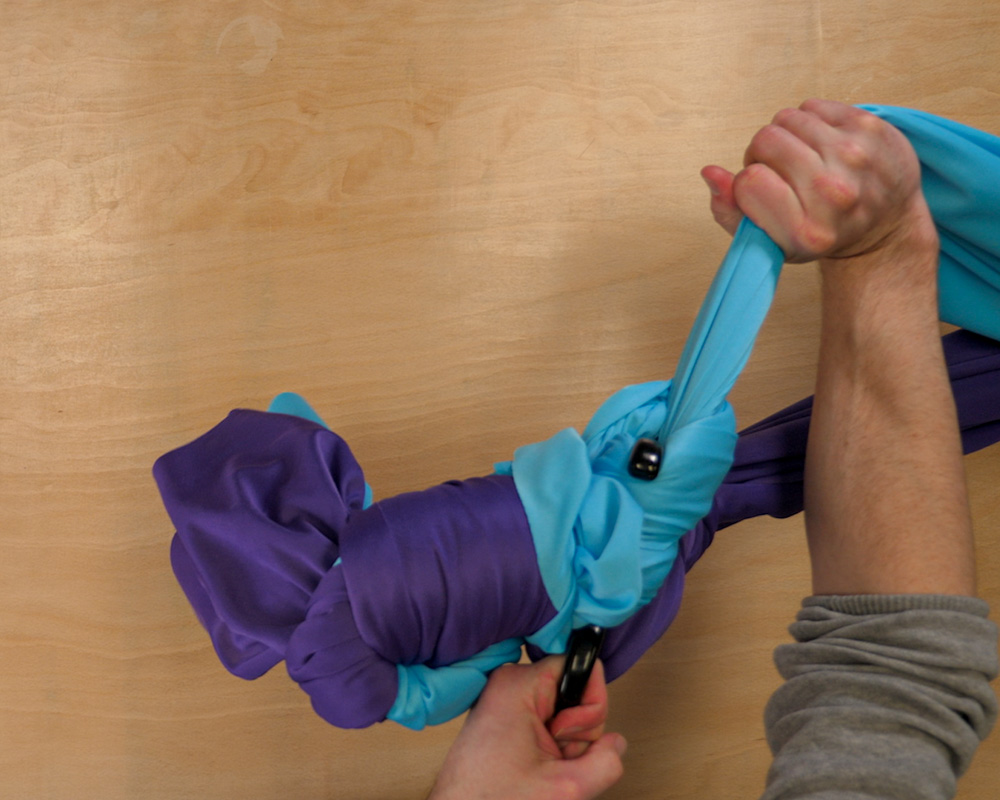
6. Bringing them together behind the top of the figure 8, tie a stop knot
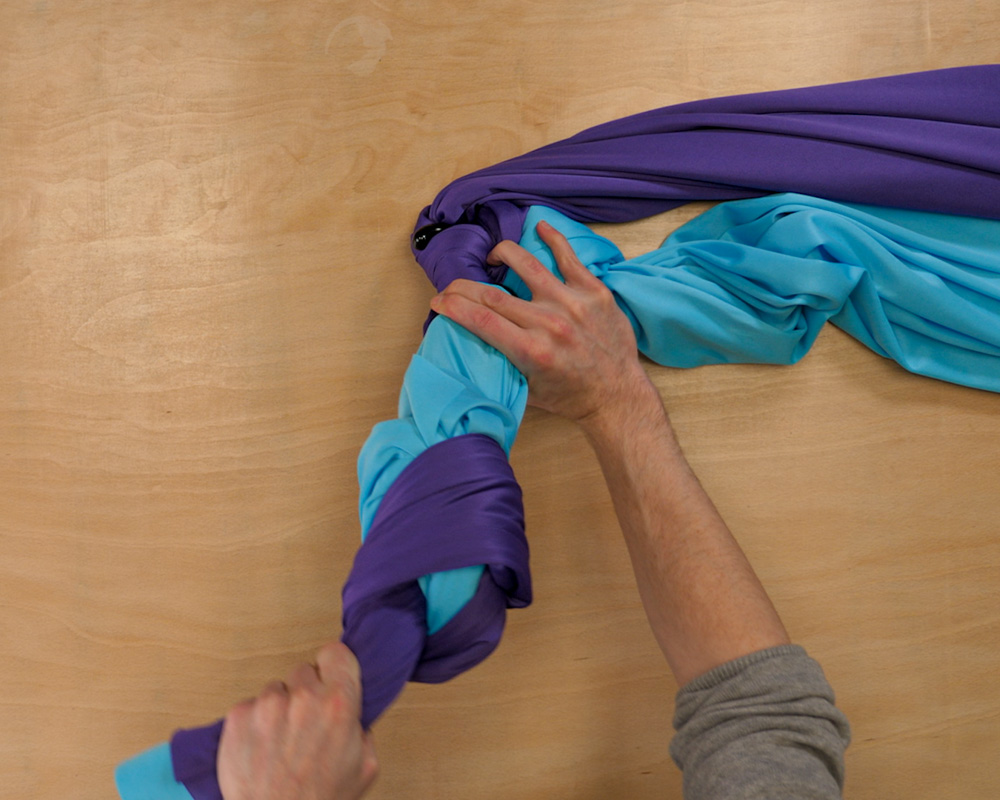
7. Pull the silks down through the figure 8 to tighten the knot up
8. Pull through to the tails of the silk to neaten everything up
And that's it! Now, you're ready to rig the silk to your rigging apparatus.
For more information on how to use and maintain your aerial silks, check out our blog on how to wash aerial silks.
Want to get your own dual colour silk setup but don't know which colours to pair up? Grab one of our swatches for either the Firetoys range or the Prodigy range!